Vegetable Raita forms an integral part of Indian cuisine and has been served through ages. One can never imagine relishing biryani, kebabs, stuffed paranthas, and the like without it being on the side. Our cuisine which is known and love for an inclination towards chilies and spices, the raita comes to a respite that brings about a cooling effect after a heavy dose of spices. Raita is made using thick yogurt, which is then mixed with a variety of vegetables, fruits, and spices.
The recipe I have today is for Vegetable Raita. The chilled raita tones down the intense flavors of the meals. It is one of the easiest side dishes to make and is ready in minutes. For best results, while making raita, you should use yogurt that is either set at home using full cream or from a local dairy instead of a packaged product.
So let’s get started!
How to Make Vegetable Raita

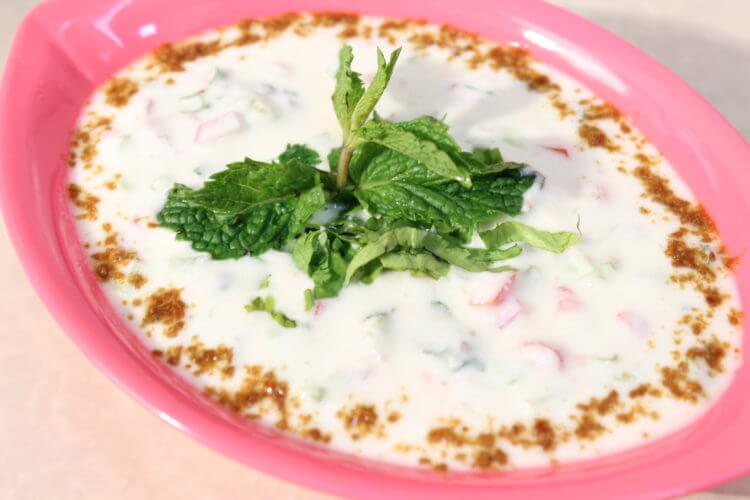
Vegetable Raita Recipe
Ingredients
- 250 gm Curd
- 1/4 Cup Onion Finely Chopped
- 1/4 Cup Cucumber Finely Chopped
- 1/4 Cup Tomato Finely Chopped
- pinch Black pepper powder
- 1/4 Tsp Black salt
- 4 to 5 mint leaves Finely Chopped
- 1/4 Tsp Cumin powder
- 1 Tbsp Coriander leaves Finely Chopped
- 1 Green chili Finely Chopped
- Salt to Taste
Instructions
- Using the hand whisker, whisk the curd well, so there are no lumps and curd is smooth.
- First we will add the spices-black pepper powder, roasted cumin seed powder, black salt, and 1/4th tsp salt.
- Now chopped green chilies, mint leaves, coriander, onions, cucumber and tomatoes. And mix well.
- I would advise you to avoid using water because onion, tomato, and cucumber are high in water content.
- Refrigerate for a while and then transfer the raita into a serving bowl.
Your favorite side dish is ready. Easy isn’t it? Do try in your kitchen and keep me posted on your experiences.
Your comments and feedback are valuable so don’t forget to post below.
Happy Cooking!
Siddhi Panchal is a food blogger at CookingwithSiddhi and food aficionado who loves to cook. Her cooking skills cover a range of Indian and international cuisines. Her aim is to enable other food enthusiasts explore their love for food by helping them cook delectable dishes from India and around the world.